You’re at the airport gate. Boarding starts in 10 minutes. The agent asks for your ID. You pat your pocket — empty. You check your bag. Nothing. That cold panic? I’ve felt it. Twice.
Once, I drove four hours to a cabin in the Smokies and realized I’d left my wallet at home. No ID, no credit cards, no way to check in. The second time, I flew from Chicago to Denver and my driver’s license had expired three days earlier. The TSA agent didn’t care about the grace period.
Travel documents aren’t just for international flights. Domestic trips have real requirements. Here are the six documents you need to carry, every single time.
Your Government-Issued Photo ID
This is the non-negotiable one. The TSA requires a valid photo ID for all passengers 18 and older on domestic flights. No exceptions for “I forgot it.”
The most common mistake: carrying an expired ID. TSA will not accept a driver’s license that expired yesterday. Check the expiration date before you leave the house.
Acceptable forms:
- State-issued driver’s license or ID card
- U.S. passport or passport card
- DHS trusted traveler cards (Global Entry, NEXUS, SENTRI)
- Military ID
- Permanent resident card
If you’re driving instead of flying, many states still require you to carry a valid license. A digital copy on your phone doesn’t count — you need the physical card.
Pro tip: Keep a photocopy of your ID in your checked bag. If your wallet gets stolen, that copy speeds up getting a replacement at the DMV.
Your Health Insurance Card

This one gets overlooked constantly. People think “I’m just going to another state, my insurance works there.” That’s true — but only if you can prove it.
Hospital emergency rooms won’t treat you without verifying coverage. If you’re unconscious, they need your card to look up your policy. Without it, you’re treated as uninsured, which means you get billed the full rate.
The real risk: A simple ER visit for dehydration or a minor injury can cost $1,000–$3,000 without insurance. With insurance, you pay your copay. The difference is having that plastic card in your pocket.
Take a photo of both sides of your card and store it in a secure folder on your phone. Also carry the physical card. Hospitals prefer the physical copy for scanning.
Your Emergency Contact Information
This is the one document most travelers skip. And it’s the one that matters most when things go wrong.
Write down on a physical card:
- Your full name and date of birth
- Blood type
- Allergies and medical conditions
- Emergency contact name and phone number
- Your doctor’s name and phone number
Keep this card in your wallet, separate from your phone. If your phone dies or gets lost, that card is your lifeline.
I carry a laminated card in my carry-on bag. It takes 30 seconds to make and has saved me twice — once when I had an allergic reaction in a small town and couldn’t remember which medication I was on.
Proof of Accommodation and Travel Plans
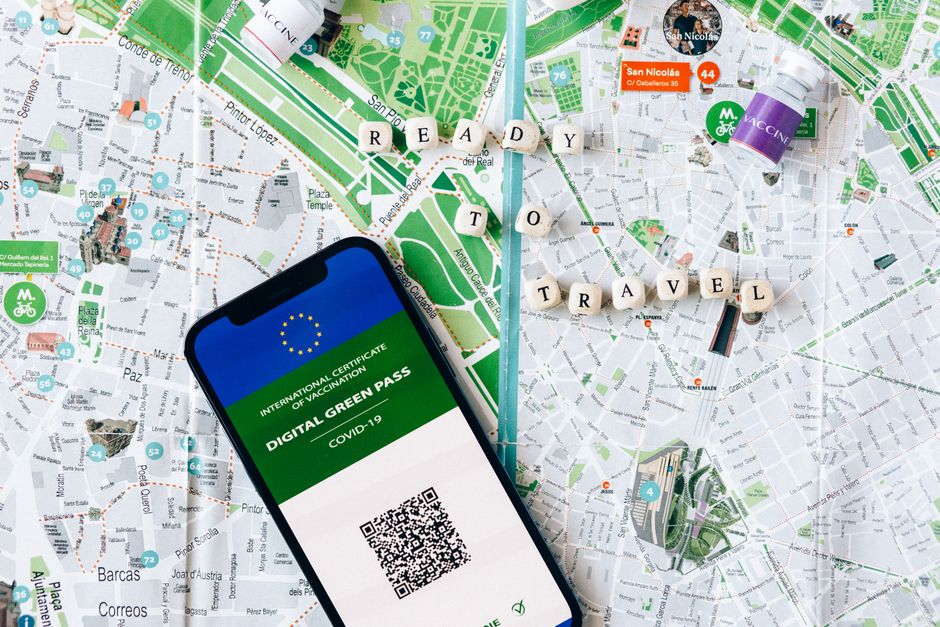
Hotel reservations. Rental car confirmations. Flight itineraries. You don’t need to print everything, but you need offline access.
Here’s why: cell service dies in rural areas. Airports have spotty WiFi. If your phone has 2% battery and you can’t pull up your hotel confirmation, you’re stuck.
What to carry:
- A printed copy of your flight itinerary (just the confirmation page)
- Hotel reservation confirmation numbers
- Rental car booking reference
- Any pre-booked tour or activity confirmations
One piece of paper with all confirmation numbers listed works fine. Keep it in your wallet or carry-on. I use an app called TripIt (free, iOS and Android) which stores everything offline. But I still carry the paper backup.
Why this matters: I once arrived at a hotel in Portland at midnight. The front desk couldn’t find my reservation. Without my printed confirmation code, I would have slept in my car. The paper took 10 seconds to find.
Digital Copies of Everything
Physical documents get lost, stolen, or destroyed. Digital copies are your safety net.
Store these in a secure, encrypted folder on your phone or in cloud storage:
- Front and back of your driver’s license
- Your passport photo page (if carrying it)
- Health insurance card (both sides)
- Emergency contact card
- Travel itinerary and confirmation numbers
Best method: Use Google Drive or iCloud with a dedicated folder labeled “Travel Documents.” Set it to allow offline access. Or use a password manager like 1Password (about $36/year) which has a document storage feature — I store scans of my ID and insurance card there.
Do not store these in your regular photo gallery. If your phone gets stolen, a thief has your ID photo and your home address. Use a locked folder.
A Backup Payment Method

This isn’t a document in the traditional sense, but it belongs on this list because losing your wallet means losing access to money.
Carry at least two forms of payment stored in separate places:
- One credit or debit card in your wallet
- A second card hidden in your suitcase or carry-on
- Cash — $50 to $100 in small bills, kept separate from your cards
The failure mode: Your wallet gets stolen at a rest stop. You have no cards, no cash, no way to pay for gas or food. A backup card in your bag means you can still get home.
| Document | Physical Copy? | Digital Backup? | Where to Keep It |
|---|---|---|---|
| Government photo ID | Yes — mandatory | Yes — locked folder | Wallet |
| Health insurance card | Yes | Yes — locked folder | Wallet |
| Emergency contact card | Yes | Yes — share with one person | Wallet or carry-on |
| Travel confirmations | One printed page | Yes — offline app | Carry-on bag |
| Backup payment | Physical card + cash | No | Separate from wallet |
Before your next trip, spend 15 minutes gathering these six items. Put them in a dedicated travel wallet or a zippered pouch. Check the expiration dates on your ID and insurance card. Make your emergency contact card. Store the digital backups.
That 15 minutes is the difference between a smooth trip and a $200 headache at the airport counter.