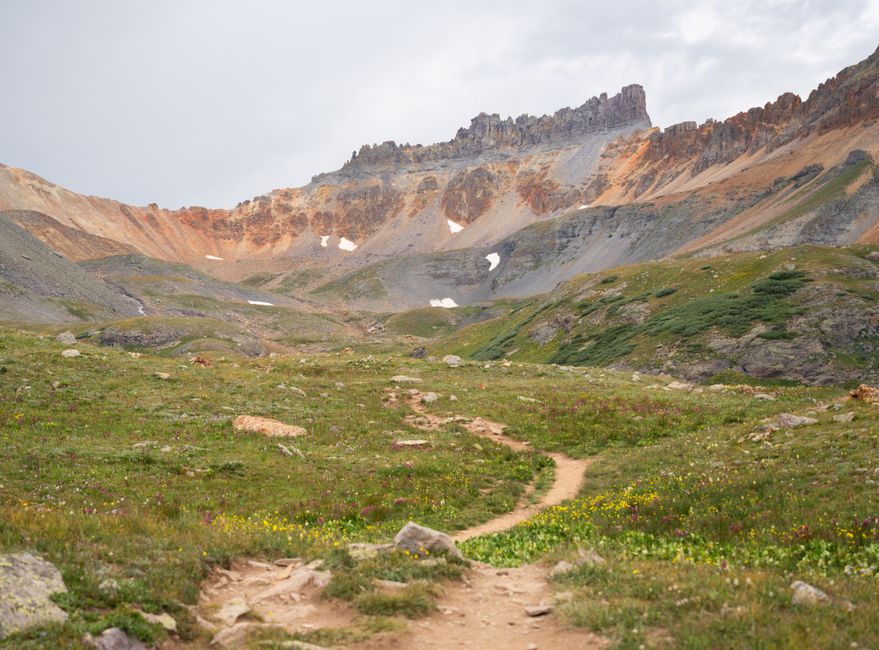
The first morning is easy to picture: a trail sign in another language, unfamiliar mountains ahead, and a backpack packed for several days. The difficult part comes earlier. A first hiking trip abroad combines route planning, border rules, weather, transport, food, communication and safety in one decision. A beautiful trail can become a poor choice if the airport is six hours away, the route needs a permit, or the only bus leaves before the flight lands.
The safest approach is simple. Choose a route that allows mistakes, keep the walking days moderate, and build the trip around reliable transport rather than dramatic scenery. A successful first journey should feel like an adventure, not an endurance test.
Decide what kind of first hiking trip is realistic
Set the difficulty before choosing the destination
Start with walking ability, not a country name. A useful first-trip target is 8 to 14 kilometres per day, four to six hours of walking, and less than 700 metres of climbing on the busiest day. That range leaves energy for navigation, meals, photographs and an unexpected delay. It also gives a clear limit when comparing routes.
Daylight matters as much as distance. A 12-kilometre trail with a clear path and frequent villages may be easier than an 8-kilometre route across steep, exposed ground. Check the total ascent, highest point, trail surface, water access and escape routes. A route profile tells more than a scenic photograph.
Use one base instead of changing accommodation every night
For a first trip, a base-and-day-hike plan is the strongest choice. Stay in one village or small town for three or four nights, then walk different trails from the same place. This removes daily packing, lowers the chance of missing a connection, and makes it easier to ask local staff about weather or closures.
A point-to-point trek becomes a better option after the basic travel routine feels familiar. It can be rewarding, but every night depends on reaching the next location with enough daylight and the correct reservation.
Match walking days to arrival and departure
Never schedule the hardest hike on the day after a late international arrival. Use the first day for a short local walk, a route briefing and a weather check. Keep the final walking day close to the departure town. The best first trip has a quiet start, a strong middle, and a flexible finish.
Verdict: Choose a single-base hiking trip with moderate distances for the first journey abroad. It offers the best balance of independence, scenery and recovery time.
Choose a route by risk, not postcard appeal
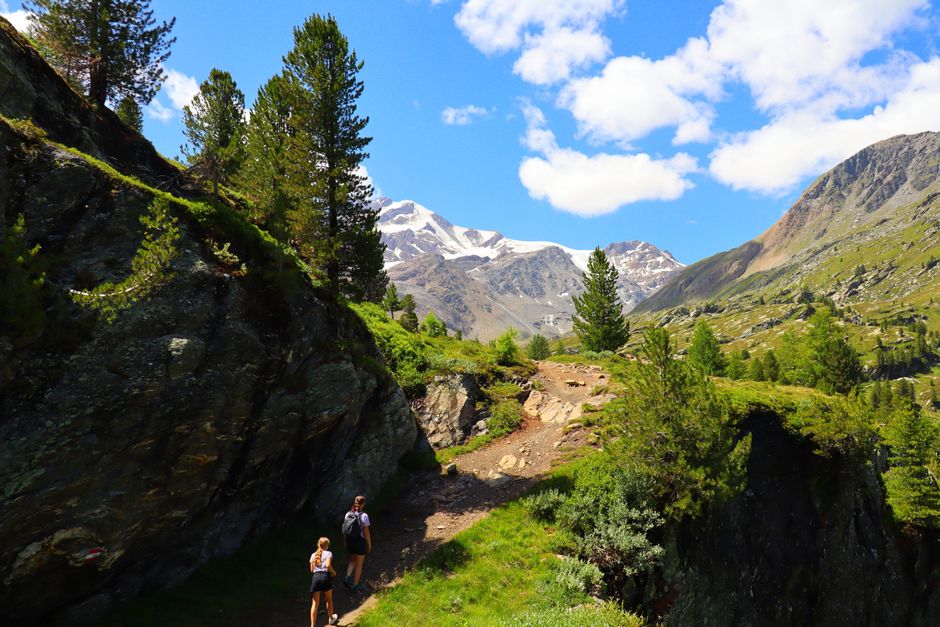
A route should earn its place through access and flexibility. Dramatic ridgelines are attractive, but the most suitable first hike usually has frequent transport, marked trails, several places to stop, and a lower route available when the weather changes.
Compare the main route formats
| Route format | Best feature | Main difficulty | Best first-trip use |
|---|---|---|---|
| Single-base day hikes | Simple logistics and easy recovery | Some trails may require transport each morning | Best choice for most first international hiking trips |
| Point-to-point trek | Strong sense of progress and varied scenery | Every overnight stop must be reached on schedule | Suitable when trails and transport are well marked |
| Guided hut-to-hut route | Local knowledge and social support | Less freedom to change the plan | Good for remote terrain or limited navigation experience |
| Short self-guided loop | Low commitment and easy exit | Less time for remote landscapes | Best for a first test before a longer trip |
Give transport the same attention as the trail
Search the complete journey from the arrival airport or station to the trailhead. Record the transfer time, the last public connection, the first morning departure, and the nearest place to leave the route. A trail that looks close on a map may need two buses and a seasonal shuttle.
Prioritize places with at least two ways to reach the walking area. A local bus, taxi service, or short road connection can turn a storm day into a rest day instead of a crisis. Save the timetable offline because mountain valleys often have weak mobile coverage.
Choose a route with a clear exit
Every planned hike needs an exit point. That might be a village, a road crossing, a staffed hut or a marked junction leading back to transport. Avoid committing to a high ridge when the only retreat is the same exposed path. The strongest route is not the one with the highest summit. It is the one that still works after a missed bus, a sore ankle or six hours of rain.
Build a five-day itinerary with room to change it
A first hiking holiday should not fill every hour. Travel days contain delays, language problems, unfamiliar ticket systems and slow meals. A five-day plan with three main hikes is more useful than five ambitious walking days. It gives the body time to recover and leaves space for a lower route when conditions change.
Use the first day to learn the area
Arrive, settle in, and walk a short local route of two to five kilometres. Check the next day’s transport in person if possible. This small amount of preparation can prevent a rushed start.
Place the longest hike in the middle
The body usually handles the longest day better after one night of sleep and before the fatigue of departure. Keep the route below the personal maximum. If normal weekend walks cover 12 kilometres, a foreign mountain route should not begin at 20 kilometres with heavy climbing.
| Day | Plan | Walking target | Reason |
|---|---|---|---|
| Day 1 | Arrival, local walk, route check | 2–5 km | Recover from travel and learn the area |
| Day 2 | Marked valley or coastal loop | 8–11 km, 300–500 m ascent | Test navigation and pacing |
| Day 3 | Longest planned hike | 10–14 km, 400–700 m ascent | Use the strongest energy day for the main route |
| Day 4 | Short route, village visit or weather backup | 5–9 km | Protect the schedule from fatigue or bad conditions |
| Day 5 | Departure or optional sunrise walk near transport | 0–4 km | Keep a safe buffer before the journey home |
Build a weather margin into every day
Set a turnaround time before leaving. If the summit or viewpoint has not been reached by that time, return even if the destination looks close. Clouds can hide route markers, wind can slow progress, and wet rock changes the difficulty of a familiar path. A weather margin is part of the itinerary, not a sign that the plan failed.
Keep one complete day uncommitted. That day can absorb a cancelled bus, a closed trail, a storm or a day when the body needs rest. Flexible planning creates more useful walking time because it prevents one problem from damaging the whole trip.
Prepare for borders, permits and local rules
Most international hiking problems start before the trail. Documents, transport and access rules deserve a written check rather than a quick search on the way to the airport.
- Check entry documents. Confirm passport validity, visa conditions, transit rules and required travel insurance. Save digital copies, but carry paper copies in a separate place.
- Check park access. Some protected areas require a day permit, a reservation, a timed entry or a registration at the trailhead. A free trail may still have restricted access during fire season or wildlife protection periods.
- Check overnight rules. Wild camping, campfires, bivouacs and sleeping in vehicles may be banned. Use official campsites or established accommodation when the rules are unclear.
- Check transport seasons. Mountain buses and cable routes often run less often outside summer. The schedule shown on a general travel site may not match the local operator.
- Learn local emergency practice. Save the national emergency number, the park office and the accommodation address. Ask how a rescue call works in the local language.
- Respect trail customs. Close gates, keep dogs controlled where required, stay on marked paths and yield carefully on narrow sections. Avoid loud music near homes, livestock and wildlife.
Do not assume that a permit is the only requirement. A route can be open for walking but closed to overnight stays, drones, fires or swimming. Ask a local information office one direct question: What could stop this route from being completed today? The answer often reveals the rule that a broad search missed.
Verdict: Official local information is more reliable than a travel post written several years earlier. Make access checks part of the route plan, not an administrative task after arrival.