A famous viewpoint can still produce a flat photograph. The sky may be gray, the landmark may sit in the center of the frame, and a crowd may block the detail that made the place worth visiting.
This guide shows how to take stronger travel photos with a phone, compact camera, mirrorless camera, or older digital model. The method works during a busy city break, a coastal drive, a mountain walk, or a slow afternoon in a local market. It also includes a simple itinerary system, practical light advice, common mistakes, and a clear way to edit without making the scene look false.
Choose the Story Before You Raise the Camera
The best travel photo has a clear subject and a reason to exist. Before pressing the shutter, decide what the viewer should notice first. That might be the scale of a cathedral, the color of a fishing harbor, the quiet rhythm of a neighborhood street, or the contrast between an old building and modern life around it.
Find the main subject in ten seconds
Use a short visual check. Ask three questions: What is the main subject? What is distracting from it? Can the camera move closer, lower, higher, or farther to improve the frame?
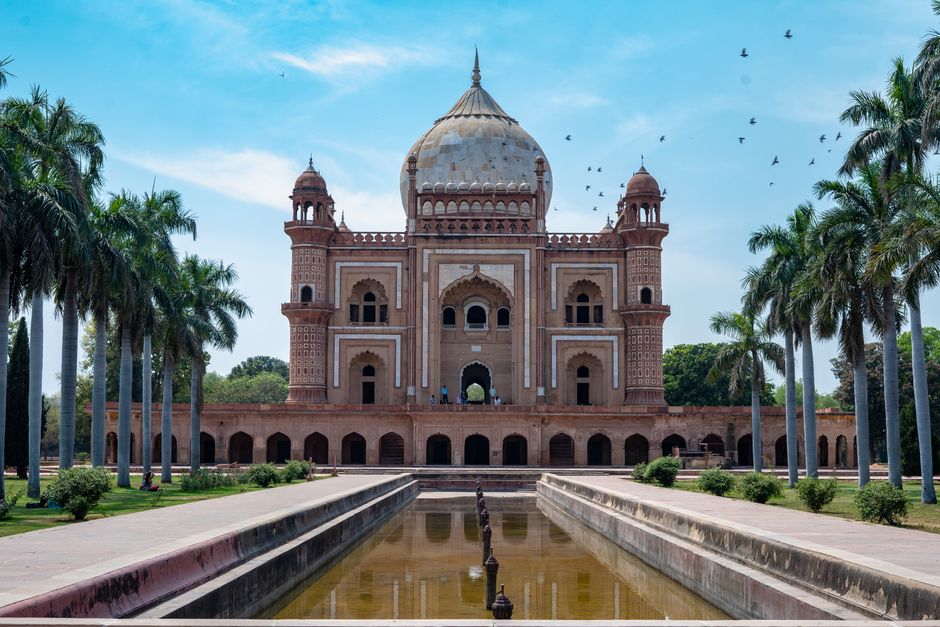
For a landmark, avoid photographing only the front elevation from the usual viewing area. Walk to the side and look for a leading line, such as a road, railing, row of trees, or shadow. A person crossing the foreground can show scale, but wait until that person supports the scene instead of covering the subject.
Build a small visual sequence
A useful travel set contains more than one postcard view. At each stop, make three images: a wide frame that explains the place, a medium frame that shows an activity or architectural feature, and a close frame that captures texture or detail. This approach creates a visual sequence without requiring a special lens.
For example, a market visit might include the full arcade, a vendor arranging produce, and a tight image of worn wooden crates. The three photographs answer different questions: Where is this? What happens here? What does it feel like up close?
Do not photograph every attraction from the same standing height. Change the relationship between the camera and the subject. Kneel near a pavement pattern, place a doorway on one edge of the frame, or use a reflection in a window. The strongest position is often two minutes away from the obvious one.
Use Light, Timing, and Weather to Shape the Scene
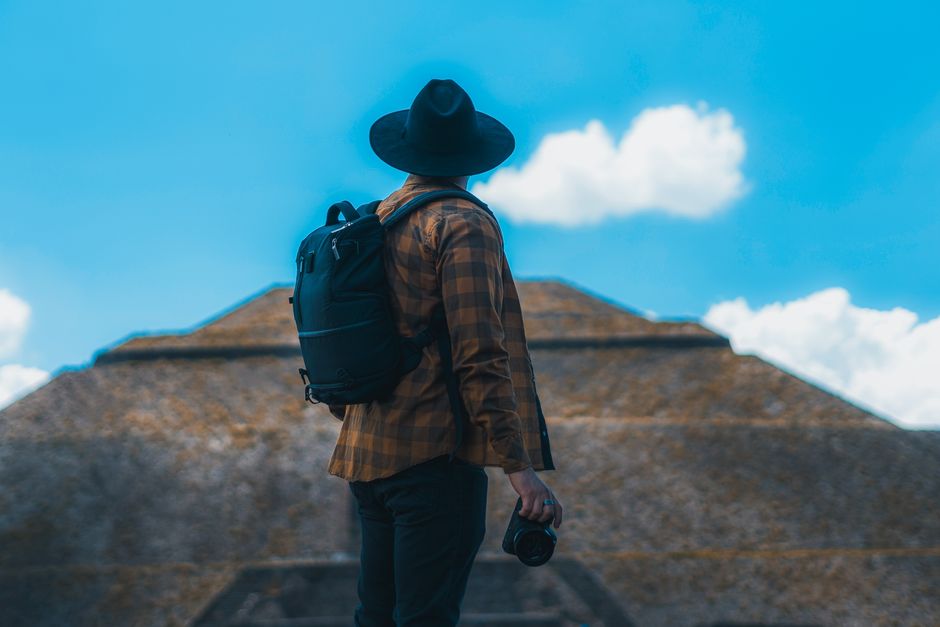
Light changes the meaning of a place. Hard midday sun creates crisp shadows and bright colors, while low morning or evening light produces longer shadows and warmer surfaces. Cloud cover softens faces and stonework, which can help when the scene contains many bright surfaces.
Work with bad weather instead of waiting for perfection
Rain, mist, and cloud can make a familiar destination look more distinctive. Shoot reflections on pavement, umbrellas moving through a square, water drops on a railing, or a building fading into fog. Keep the lens clean and use a doorway, awning, or covered walkway as a dry shooting position.
When the sky is blank and bright, avoid placing it across most of the frame. Lower the camera toward street level, find a darker foreground, or use the sky as a simple pale background for a bold silhouette. A gray day becomes a problem only when the composition depends on dramatic clouds.
Light direction matters more than light quality alone. Front light reveals detail but can look flat. Side light gives walls and faces shape. Backlight can create a strong outline, but check the brightest area so it does not dominate the entire image.
Improve Composition With Five Fast Changes
Composition is not a set of rigid rules. It is a way to control attention. When a frame feels ordinary, make one physical change before changing camera settings.
- Move your feet. Take three steps closer, then three steps to one side. Removing empty space often improves a photograph more than zooming.
- Change the height. A low angle can make a narrow street feel taller. A higher angle can simplify a crowded market or reveal a pattern in rooftops.
- Place the subject off center. Leave space in the direction a person is walking or looking. This gives the frame a natural sense of movement.
- Use a foreground layer. Frame a distant building through leaves, an arch, a doorway, or a passing figure. The extra layer creates depth.
- Straighten important lines. Tilted horizons and leaning buildings distract viewers unless the angle is clearly deliberate. Turn on a grid if the camera offers one.
Make crowds part of the composition
Busy places do not require an empty frame. Wait for a person wearing a contrasting color to cross a patch of simple background. Photograph the rhythm of several umbrellas, bicycles, or silhouettes instead of trying to remove every visitor. If a crowd blocks the subject, raise the camera slightly, move toward an edge, or return at a quieter time.
Use repetition and contrast
Repeated windows, chairs, boats, or street lamps create structure. Look for one element that breaks the pattern: a person, a bright sign, an open window, or a different shape. Contrast also works through size. A small person beside a large cliff or historic wall immediately communicates scale.
Leave some empty space when it serves the subject. Blank sky, calm water, or a plain wall can make a single figure feel isolated. Empty space becomes weak only when it has no visual purpose.
What Should You Do When a Photo Looks Wrong?
Why do bright skies look white?
The camera cannot always record the full range between a dark street and a bright sky. Point the camera toward the brightest part of the scene and lower the exposure slightly if the sky is the priority. Tap on the sky when using a phone, then check whether the foreground has become too dark. A silhouette can look intentional; a white patch with no detail usually looks accidental.
Why do landmark photos feel flat?
Flat images often show the subject from too far away with no foreground, no person for scale, and no clear light direction. Move closer to one detail, wait for side light, or include a nearby object that leads toward the landmark. Do not solve every weak image by increasing saturation. Stronger placement and timing create more believable depth.
Another common mistake is photographing only the destination’s most famous object. A trip becomes visually repetitive when every frame has the same distance, angle, and subject. Add ordinary evidence of place: local signs, public transport, food preparation, doorways, street textures, and the way residents use a public space. Respect private homes and avoid photographing people closely when the moment is not public or clearly offered.
Plan a Photo-Friendly Day Without Chasing Every Viewpoint
A good photo itinerary leaves room for observation. Rushing between six landmarks can produce a folder full of hurried snapshots, while two well-timed neighborhoods can create a much stronger record of the day.
Use the morning for structure and quiet
Start near a major sight before the streets fill. Spend twenty minutes making wide, medium, and close frames, then walk one or two blocks away. Early light reveals building shapes, shopfronts, bridges, and empty lanes. The quieter pace also makes it easier to notice repeated colors, local routines, and details missed by large groups.
Use midday for shade, detail, and indoor scenes
At the brightest part of the day, choose places with controlled light. Covered markets, arcades, museums, courtyards, cafés with permission to photograph, and shaded side streets offer more comfortable conditions than an exposed viewpoint. Look for small subjects: hands preparing food, worn steps, painted tiles, ticket windows, or a line of chairs.
Save the final hour for a deliberate closing frame
End near water, a high overlook, an open square, or a street that faces west. Arrive early enough to choose a position instead of squeezing into the first available gap. Make one broad scene, one frame with a person or moving subject, and one detail that captures the changing light. Then stop. A clear final image is better than thirty nearly identical attempts.
When editing later, keep the process simple. Remove accidental duplicates, straighten horizons, crop distractions, correct exposure, and reduce highlights if the sky is too bright. Adjust color gently so stone, skin, water, and vegetation still look believable. Avoid heavy clarity, extreme sharpening, and dramatic filters that erase the weather and light that made the place distinctive.
The clearest recommendation is simple: for better travel photos with any camera, plan around light, make one composition change at a time, and photograph each place as a sequence of wide, medium, and close views. A modest camera used with patience will produce a more convincing travel story than advanced equipment used from the same crowded viewpoint.